


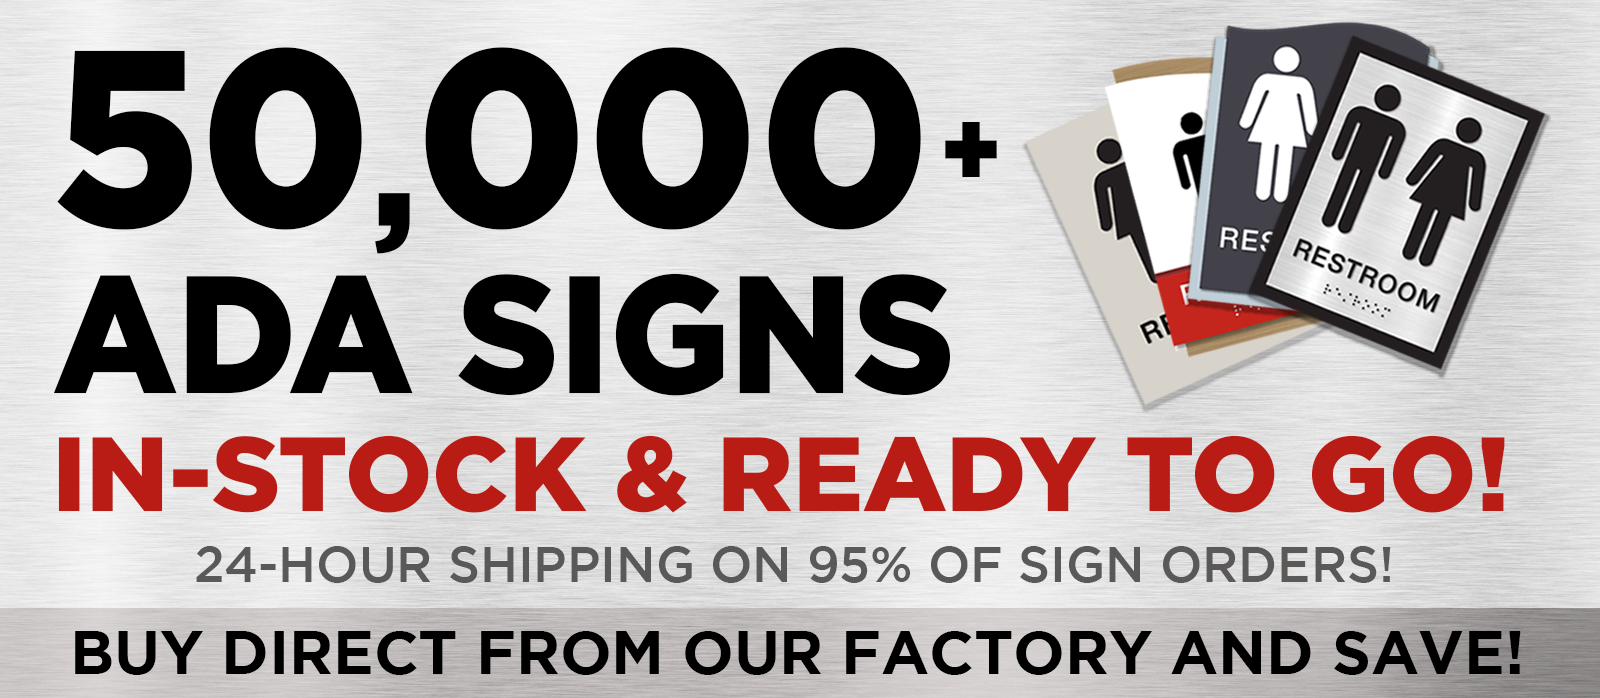
Restroom Signage: How to Install and Maintain ADA-Compliant Signs for Maximum Accessibility
In the realm of public spaces, accessibility is not just a legal requirement—it's a commitment to inclusivity. At the heart of this commitment lies the often-overlooked hero: ADA restroom signs. These essential tools do more than point the way; they ensure every individual, regardless of ability, can navigate spaces with ease and dignity.
The Unsung Heroes of Accessibility
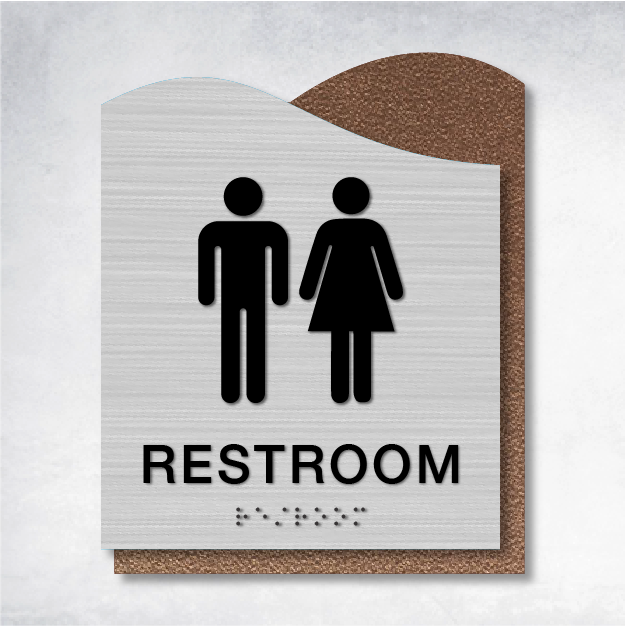
Imagine entering a bustling public building. Amidst the architectural splendor and the hum of activity, it’s the restroom signage that quietly ensures everyone finds their way. ADA restroom signs are crafted with precision, featuring tactile text, Braille, and high-contrast, non-glare finishes. These elements transform a simple sign into a beacon of accessibility, guiding all users with clarity and confidence. Ignoring ADA standards isn't just a design flaw—it's a legal misstep that can lead to significant penalties. Thus, prioritizing these signs is not just wise; it's essential.
Gathering Your Toolkit
Before embarking on the journey of installing ADA compliant restroom signs, arm yourself with the right tools. A level, measuring tape, mounting hardware, and the signs themselves are your essentials. Opt for signs crafted from durable materials, like the Epsilon Restroom ID Sign and Epsilon Flag Mount Corridor Sign, known for their resilience and adherence to ADA standards. These choices ensure your signs withstand the test of time and frequent cleaning.
Crafting the Perfect Installation
The art of installing restroom signs is a blend of precision and compliance. Here’s your guide to getting it right:
- Height Matters: Position tactile characters between 48 and 60 inches above the floor. This range is crucial for accessibility, especially for those in wheelchairs.
- Strategic Placement: Mount signs on the wall next to the door's latch side. If space is tight, the nearest adjacent wall will do.
- Think Big for Big Spaces: In expansive facilities, consider overhead or projecting signs. These should hover at least 80 inches above the floor to prevent accidents.
- Avoid Glossy Pitfalls: Glossy finishes can impede readability. Ensure there's ample clearance around signs to keep them visible and unobstructed.
Keeping Signs in Top Shape
A well-maintained sign is a functional sign. Here’s how to keep your ADA restroom signs in prime condition:
- Routine Checks: Regularly inspect signs for damage or obstructions.
- Gentle Cleaning: Use non-abrasive cleaners to preserve the non-glare finish and ensure readability.
- Stay Current: ADA regulations can evolve. Keep your signs updated to stay compliant and effective.
A Welcoming Environment for All
ADA restroom signs are more than just markers—they're a testament to a space's commitment to accessibility. By adhering to installation and maintenance guidelines, facility managers can create environments that are not only compliant but welcoming to all. For those seeking deeper insights into specific products or compliance checklists, resources like the Epsilon Corridor Sign B and local ADA compliance codes are invaluable. We encourage you to share your experiences and insights on implementing these practices, fostering a community of accessibility champions.
For more detailed guidelines, refer to the ADA Standards (Chapter 7, Section 703).
Explore more about our Restroom Signs Overview and the Epsilon Stair ID Sign for comprehensive solutions.


