


Imagine walking through a bustling campus or a sprawling corporate complex without a single sign to guide you. The chaos would be overwhelming, wouldn't it? That's where wayfinding signs come into play. These unsung heroes of navigation ensure that everyone, from students to visitors, finds their way with ease. If you're a facilities director, architect, or campus planner, mastering the art of wayfinding sign installation is crucial. Let's embark on this journey together, exploring the nuances of installation, answering those burning questions, and providing a handy checklist to make your project a breeze.
The Art of Placement: Making Signs Visible and Effective
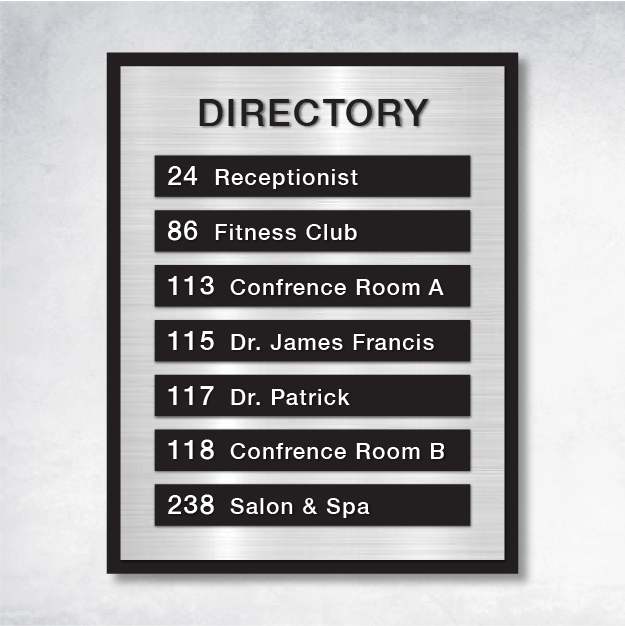
Where Should Directional Signs Be Placed for Maximum Visibility?
Think of wayfinding signs as the silent tour guides of your space. To maximize their effectiveness, position them at decision points and high-traffic areas. Imagine a visitor standing at a crossroads; your sign should be the beacon that guides them. In multi-level environments or crowded spaces, overhead signs can be a lifesaver, ensuring visibility from afar without getting lost in the crowd.
What is the Ideal Spacing Between Wayfinding Signs?
Spacing is key to a smooth navigation experience. Picture yourself walking through a museum; you want enough time to absorb each exhibit before moving to the next. Similarly, wayfinding signs should be spaced to allow for easy reading and comprehension. The exact distance will depend on your space's layout and traffic flow, but the goal remains the same: clarity and ease of navigation.
Ensuring Compliance and Expertise
How Do I Ensure Mounting Compliance with ADA?
ADA compliance isn't just a legal requirement; it's a commitment to accessibility. Tactile signs with Braille should be mounted between 48 and 60 inches from the floor, making them accessible to everyone. Visual signs need high-contrast colors and non-glare finishes to accommodate those with visual impairments. Always stay updated with the latest ADA standards to ensure your installations are inclusive and compliant.
Do I Need Professional Installers, or Can I Do It In-House?
This is the million-dollar question. While in-house installation might save some bucks, professional installers bring a wealth of expertise. They ensure compliance, optimal placement, and possess the tools for complex tasks like elevated or illuminated signs. Assess your team's skills and the project's complexity before making a decision.
Your Go-To Checklist for Seamless Installation
- Perform a Site Survey: Begin with a thorough inspection to map key decision points and visibility angles.
- Determine Sign Heights and Sightlines: Position signs at eye level, around 54″ ± 2″, for maximum readability.
- Use Floor Plans: Plot sign locations and arrows on floor plans to visualize traffic flow and ensure logical navigation.
- Verify Wall Substrate: Choose appropriate anchors or tape mounts based on the wall substrate for secure installation.
- Post-Installation Walkthrough: Conduct a walkthrough to confirm the clarity and effectiveness of each sign's placement.
Avoiding Common Pitfalls
Even the best-laid plans can go awry. Avoid cramming too much information on one sign, which can overwhelm and confuse users. Also, be mindful of glare; in bright areas, matte finishes are your best friend, enhancing legibility and reducing eye strain.
Resources to Guide Your Way
- Download a PDF wayfinding planning template to streamline your planning process.
- Explore the Gamma Directional sign product page for top-notch signage options.
Wrapping Up Your Wayfinding Journey
Wayfinding sign installation is more than just a task; it's an art form that enhances navigation and accessibility. By following this guide and utilizing the checklist, you're well on your way to creating a seamless and intuitive environment for all users. Embrace these best practices, and let your signs be the silent guides that lead the way.


