


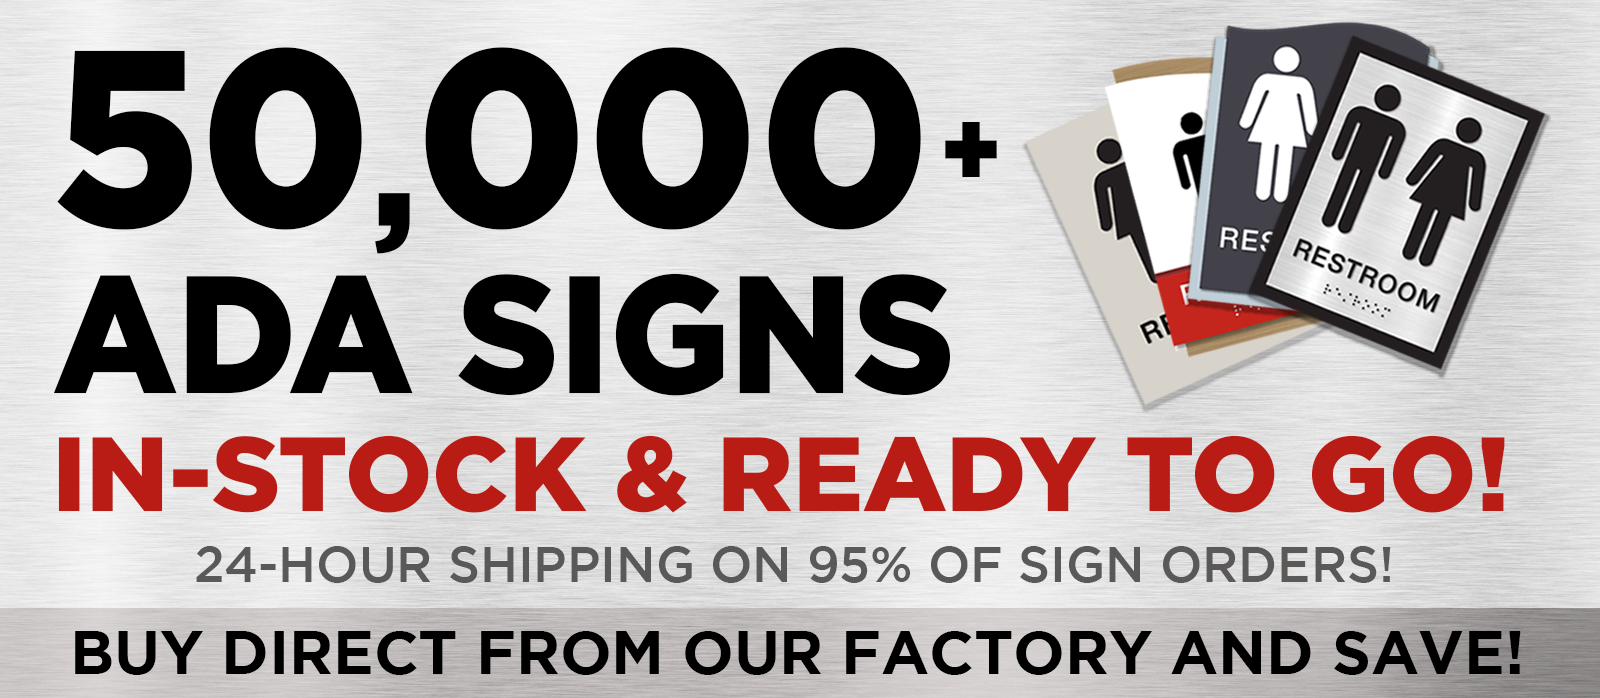
Navigating the World of ADA Signage: Your Essential Guide to Installation
Embarking on the journey of installing ADA signs might seem overwhelming at first, but with the right guidance, you'll find yourself navigating the process with ease and assurance. This comprehensive guide is designed to lead facility managers and installers through the intricate steps of correctly mounting ADA and Braille signs, ensuring both compliance and accessibility. Understanding the nuances of ADA signage installation is not just a legal requirement; it's a commitment to inclusivity and accessibility for everyone.
The Art and Science of ADA Signage Installation
When it comes to ADA signage, precision is key. Federal and state codes outline specific requirements for mounting heights, clear floor space, and tactile specifications. These aren't just bureaucratic hurdles; they are essential guidelines that ensure everyone, regardless of ability, can navigate spaces with ease.
- Mounting Height Matters: ADA tactile signs must be mounted between 48 inches and 60 inches above the floor. This range ensures that signs are within reach for everyone, including those who are visually impaired or use wheelchairs.
- Strategic Placement: Signs should be positioned on the latch side of doors, centered within an 18″ × 18″ clear floor space. This strategic placement guarantees that signs are both visible and accessible.
- Tactile Touchpoints: Raised characters on ADA signs must be at least 1/32 inch deep, uppercase, and sans serif. These tactile specifications are crucial for readability by touch, providing essential information to those who rely on tactile feedback.
Your ADA Signage Questions Answered
1. How high should ADA signs be mounted?
To meet ADA standards, signs need to be mounted 48–60 inches from the floor to the tactile baseline. This height ensures that signs are accessible to all, including those using wheelchairs.
2. What's the ideal placement for ADA signs near doors?
ADA signs should be placed on the latch side of doors, centered in an 18″ × 18″ clear space. Here's how to achieve perfect placement:
- Measure the latch side of the door.
- Mark the centerline.
- Ensure the floor space is clear and unobstructed.
3. What tools will I need for installation?
For a seamless installation, gather these essentials: a level, measuring tape, double-faced foam tape, and a drill for bracketed signs. These tools will help you mount your ADA signs securely and accurately.
Your Step-by-Step Installation Checklist
- Measure from the floor to the baseline (48 inches).
- Mark the latch-side centerline.
- Verify clear floor space (18″ × 18″).
- Choose your mounting method: tape or bracket.
- Level the sign, secure it, and confirm tactile alignment.
Avoiding Common Pitfalls
Steer clear of these frequent missteps to ensure compliance and accessibility:
- Incorrect Mounting Height: Always double-check measurements to ensure the correct height.
- Overlooking Clear Space: Confirm that floor markings are precise and that the area remains unobstructed.
Dive Deeper with Additional Resources
For those eager to delve further into ADA signage details, consider these resources:
Explore our internal resources for more insights:


