


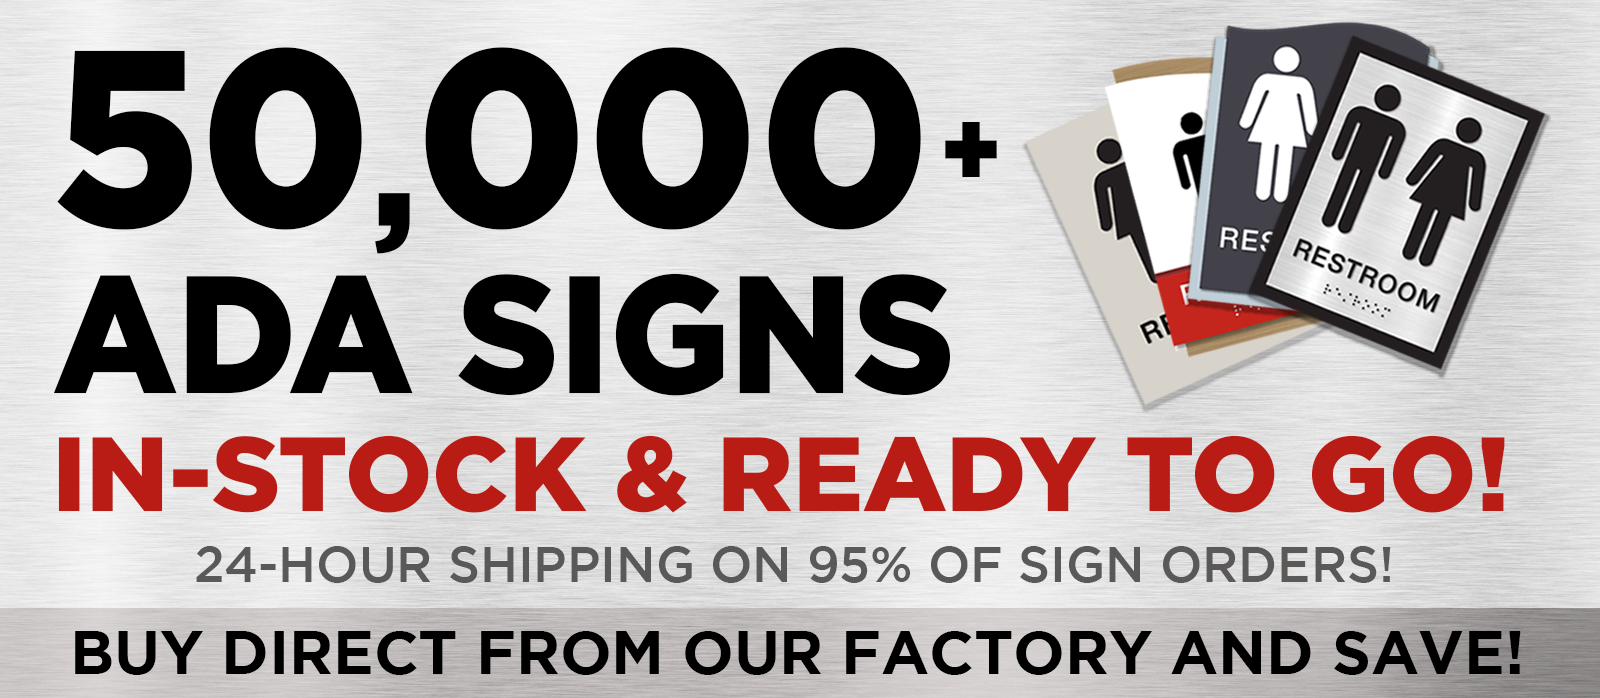
Navigating the World of ADA Signage: Your Essential Guide
In the realm of accessibility, ADA signage stands as a beacon of inclusivity and compliance. For businesses, mastering the art of ADA signage installation is not just about ticking a legal box—it's a commitment to creating spaces where everyone feels welcome. This guide is your compass, steering you through the essentials of ADA signage installation, answering burning questions, offering a practical checklist, and spotlighting common missteps to avoid.
The Heartbeat of Inclusivity: Why ADA Signage Installation is Crucial
Imagine a world where every individual, regardless of ability, can navigate spaces with ease. Proper ADA signage is the key to unlocking this vision. For businesses, it’s about more than meeting legal standards; it’s about crafting an environment where accessibility is woven into the fabric of everyday life. This guide equips you with the insights needed to ensure your establishment not only complies but thrives in inclusivity.
Unraveling the Mysteries: Common Queries About ADA Signage Installation
Embarking on the journey of ADA signage installation often brings a flurry of questions. What tools are indispensable? Should you opt for tape or screws? What are the pitfalls lurking in the shadows? These queries are the whispers of business owners and facility managers eager to get their ADA signage just right.
The Toolkit for Success: Essential Tools for Installation
To transform your ADA signage vision into reality, arm yourself with a trusty toolkit: a level, measuring tape, drill, and screws. Depending on your signage material, adhesive tape or mounting brackets might also join your arsenal.
The Great Debate: Tape vs. Screws
The choice between tape and screws hinges on the surface and the sign’s heft. Tape offers a swift fix for lightweight signs on smooth surfaces, while screws deliver steadfast security for heavier signs or textured terrains.
Sidestepping the Traps: Avoiding Common Pitfalls
One of the sneakiest pitfalls in ADA signage installation is the elusive mounting height. Ensure your signs rise to the occasion, perched between 48 to 60 inches from the floor. Contrast, too, is your ally—make sure the text and background dance in high contrast for readability.
Your Roadmap to Success: Actionable Checklist for ADA Signage Installation
- Height Matters: Ascertain that signs are mounted at the golden height (48 to 60 inches from the floor).
- Clear the Way: Guarantee clear space in front of the sign for effortless access.
- Strategic Placement: Position signs near the areas they herald, like room entrances or exits.
- Contrast is King: Ensure vibrant contrast between text and background for visibility.
- Secure Your Signs: Choose mounting methods (tape or screws) wisely, based on the sign’s weight and surface type.
Steering Clear of Blunders: Common Mistakes to Avoid
Incorrect mounting height and lack of contrast are the usual suspects in ADA sign installation errors. Double-check measurements and contrast levels to keep these culprits at bay. Also, ensure signs are free from obstructions and strategically placed to guide, not mislead.
Dive Deeper: Additional Resources & Related Links
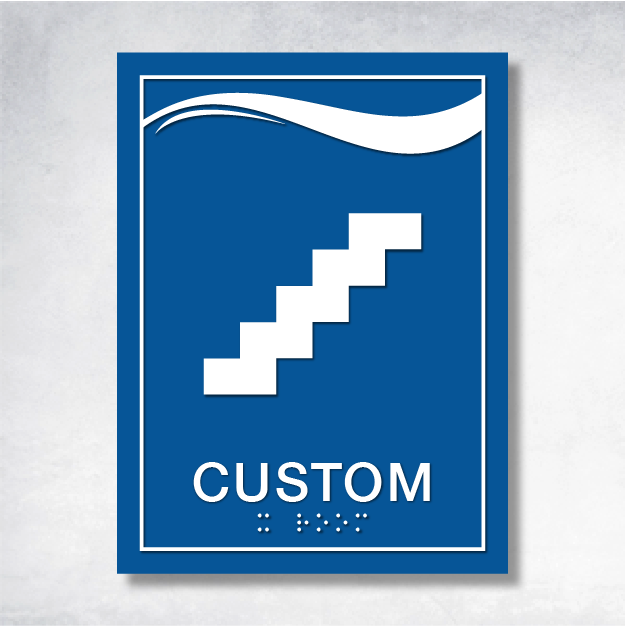
For a deeper dive into guidelines, explore authoritative sources like the Access Board's Chapter 7: Signs and Green Dot Sign's ADA Sign Height Requirements. Discover BrailleSignWholesale's ADA Signage Solutions for Offices for a treasure trove of compliant signage options.
A Journey Towards Inclusivity
ADA signage is more than a regulatory checkbox—it’s a stride towards a world where accessibility reigns supreme. By embracing this guide and checklist, your business can stand as a beacon of compliance and inclusivity. We invite you to apply these insights and share your experiences, lighting the way for others on their ADA compliance journey.


